How to Clean a Turntable Stylus: Protecting Your Records and Your Sound
This post contains affiliate links. As an Amazon Associate, I earn from qualifying purchases at no extra cost to you.
The stylus is the most critical contact point in your entire analog playback chain. This tiny diamond tip traces the microscopic grooves of your records and converts their physical undulations into electrical signals. When it is dirty, you hear the difference immediately: muffled highs, distortion, sibilance, and increased surface noise. More importantly, a contaminated stylus drags debris through those grooves and causes real physical damage to your records over time. Keeping the stylus clean is not optional for anyone serious about analog playback.
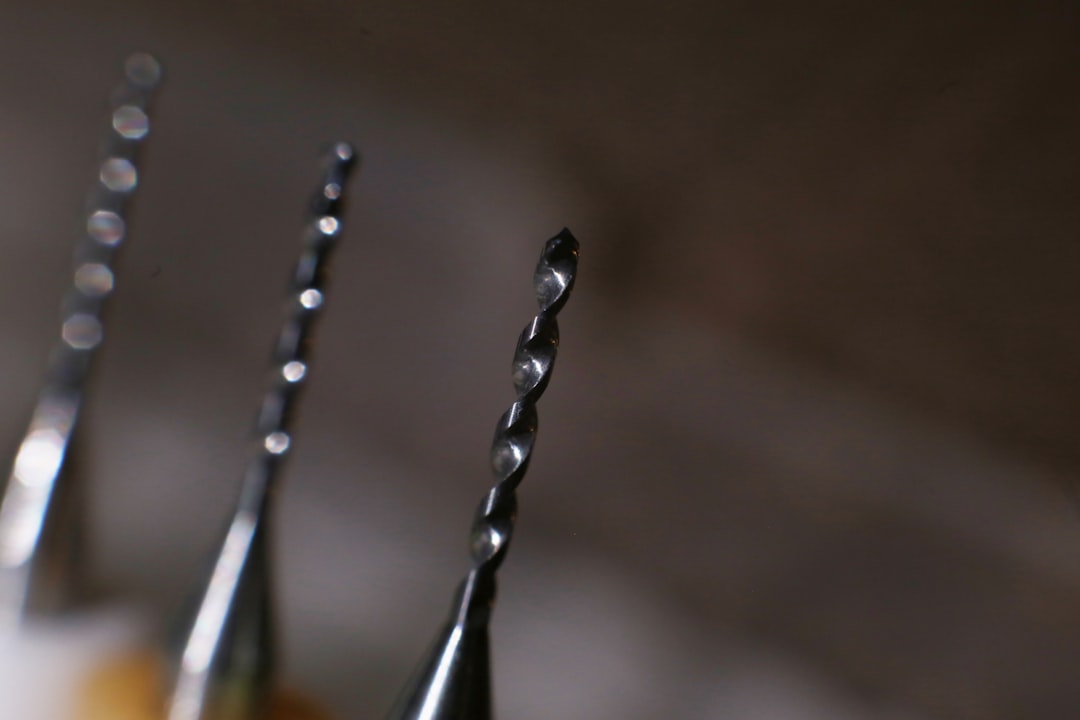
Photo by Marcus Urbenz on Unsplash
What Gets on a Stylus
Every time you play a record, the stylus picks up dust, lint, microscopic mold release compounds left over from the pressing process, and the byproducts of vinyl degradation. Some of this material gets deposited in the groove during play. Some of it accumulates on the stylus itself, forming a ball of compressed debris at the tip. You can often see this buildup with a magnifying glass or a USB stylus microscope, which is a worthwhile investment for any serious vinyl listener.
Dry Cleaning with a Stylus Brush
The most basic method is a dry stylus brush, which is a small brush with very soft bristles, often made from carbon fiber or fine nylon. The correct technique is critical and non-negotiable: always brush from back to front, in the direction the record travels. Never brush side to side and never brush from front to back. The cantilever, which is the thin aluminum or boron rod that holds the stylus, is extremely fragile and can be snapped or bent by lateral force or by pushing against the direction of travel.
A few gentle front-to-back strokes before each listening session is good practice and takes only seconds.
Liquid Stylus Cleaners
For more thorough cleaning, liquid stylus cleaners are effective. Products like the Audio-Technica AT607a, Nagaoka CL-30, or the well-regarded solutions from Last and Stylast are applied with a small brush or applicator to the stylus tip. Most are alcohol-based or use a proprietary solvent. Apply a tiny amount to the brush, never directly to the cartridge, and use the same back-to-front stroke technique.
Let the stylus air dry for 30 seconds before playing. Some audiophiles are cautious about alcohol-based cleaners on certain cartridges, as repeated use may eventually affect the adhesive bonding the cantilever to the generator. For daily maintenance, dry brushing is sufficient; liquid cleaning every 20 to 30 hours of play is a reasonable schedule.
The Magic Eraser Method
A small piece of dry melamine foam, sold as Magic Eraser, placed on the platter and lowered onto gently by the stylus is a popular and effective cleaning method. The micro-abrasive foam structure mechanically pulls debris off the tip. Lower the stylus onto the foam two or three times. Many audiophiles use this in combination with a liquid cleaner for a thorough deep clean.
Do not use the Magic Eraser wet. The abrasive action of a wet piece could be too aggressive for the diamond tip bond over time.
Ultrasonic Stylus Cleaners
The highest tier of stylus cleaning is an ultrasonic cleaner. Devices like the Humminguru stylus cleaner use ultrasonic vibration in a small bath of liquid to remove even deeply embedded contamination. These devices run $80 to $200 and are worth considering for anyone with a significant record collection or a high-value cartridge.
The Stylus Microscopy Forum on Vinyl Engine posts user-submitted microscope images of stylus wear at various mileages - a sobering visual reference for why cleaning matters.
How Often to Clean
Brush the stylus before every play session, ideally before the first record and again if you notice degraded sound mid-session. Liquid or mechanical deep cleaning every 20 to 50 hours of play is appropriate. A clean stylus sounds better, lasts longer, and protects the records you have invested in.
Related Reading
A clean stylus works best on clean records. Our How to Clean Vinyl Records guide covers wet cleaning and record care.
Recommended Products
Here are a few products to help with what we covered in this guide: