How to Clean Vinyl Records Properly: Methods for Every Budget
This post contains affiliate links. As an Amazon Associate, I earn from qualifying purchases at no extra cost to you.
Clean records sound better and last longer. Dust, fingerprint oils, and microscopic debris in the grooves increase surface noise, cause the stylus to skip or distort, and accelerate wear on both the groove walls and the stylus tip itself. Cleaning records is not optional for anyone serious about vinyl; it is part of the basic discipline of caring for the format. Fortunately, effective cleaning methods exist at every budget level.
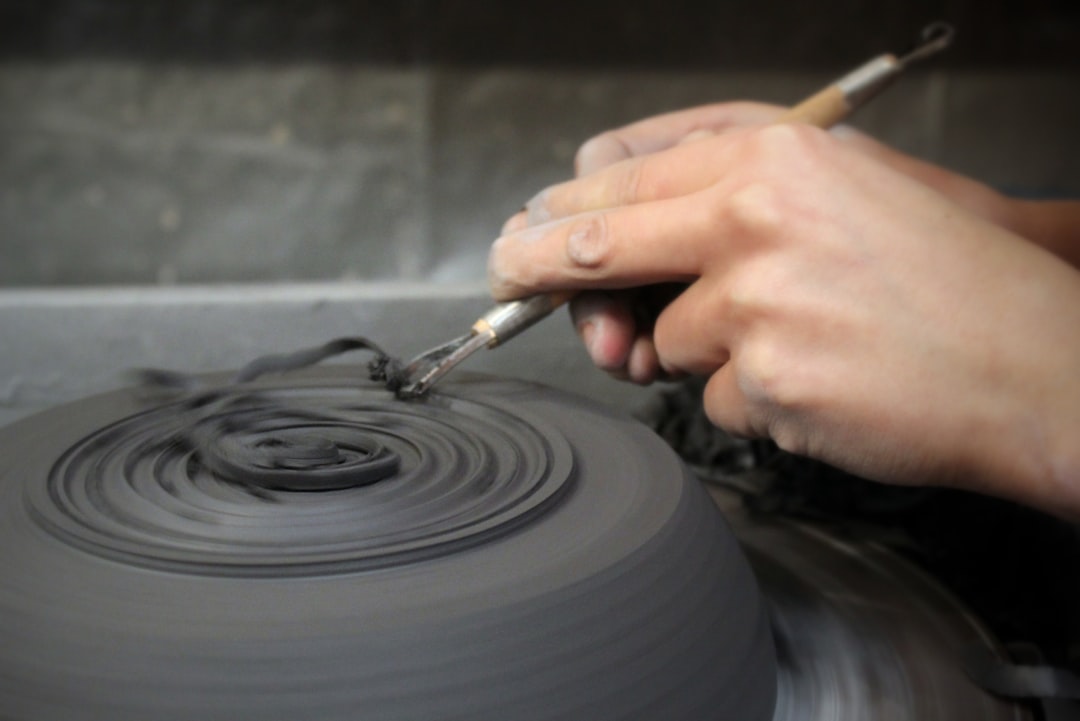
Photo by Anne Nygård on Unsplash
What You Are Cleaning Off
Record grooves are microscopic channels, with the modulations that carry the audio signal cut into their walls. Any particulate matter in those grooves interrupts stylus contact with the groove walls and adds audible noise. Fingerprint oils are particularly problematic because they attract and hold dust and also bond to the vinyl surface. Mold release compounds left over from the pressing process are present on many records, including new ones, and can cause a characteristic dull or veiled sound until removed.
The Dry Brush: Daily Maintenance
A carbon fiber record brush is the minimum tool every vinyl listener should own. Before each play, use the brush to sweep dust from the surface in a circular motion following the groove direction. This removes loose surface dust before the stylus pushes it into the grooves. A carbon fiber brush costs $10 to $20 and should be used every time.
This is maintenance, not deep cleaning. A brush cannot remove oils, deeply embedded debris, or pressing residue.
Wet Cleaning with a Brush: The Entry Level
A basic wet cleaning method uses a record cleaning solution applied with a soft brush and wiped dry with a lint-free cloth. Cleaning solutions range from commercial products like Knosti, Audio Intelligent, and MoFi Super Record Wash to DIY formulas based on distilled water with a small amount of isopropyl alcohol (99 percent pure) and a drop of surfactant such as Triton X-100.
Apply the solution with a soft velvet or goat hair brush in a circular motion, covering the grooves. Allow it to dwell briefly, then wipe away with a clean lint-free cloth or microfiber cloth, again following the circular groove direction. Do not use tap water, which contains minerals that leave deposits, and do not use paper towels, which shed fibers into the grooves.
This method is effective for relatively clean records and costs almost nothing beyond the solution and a brush.
Manual Vacuum Cleaning: Mid-Level
The Nitty Gritty and VPI manual record cleaning machines use a vacuum system to remove cleaning fluid and the debris it has loosened from the grooves. You apply cleaning solution, scrub with the built-in or separate brush, and then the vacuum arm draws the fluid back out of the grooves along with suspended contamination.
This is significantly more effective than wiping, because wiping can redeposit some of what it removes. These machines run $200 to $600 and are the workhorses of serious collectors who clean records in volume.
Ultrasonic Cleaning: The Best Results
Ultrasonic record cleaning machines, such as those from Degritter, Klaudio, and Audio Desk Systeme, use ultrasonic cavitation to clean the grooves. Microscopic bubbles formed by ultrasonic vibration in a water bath collapse against the groove surfaces, mechanically dislodging contamination that other methods cannot reach.
The results from a properly operated ultrasonic cleaner are the best available by a significant margin. New records, used records, and records that have been unplayable due to contamination all respond well to ultrasonic cleaning. The cost is $500 to $4,000 depending on the model.
The Library of Congress audio preservation guide covers long-term vinyl storage and handling best practices from an archival perspective.
After Cleaning
Store cleaned records in new inner sleeves rather than returning them to the original paper or plastic sleeves, which often contain debris. Poly-lined paper or polyethylene inner sleeves are the standard choice. A cleaned and properly stored record will maintain its condition and sound quality far longer than one that is handled casually.
Related Reading
Clean records still need a clean stylus. Check our How to Clean Your Turntable Stylus guide for the other half of the equation.
Recommended Products
Here are a few products to help with what we covered in this guide: