How to Service a Vintage Turntable: Belts, Bearings, and Cleaning
A turntable that sat in a closet for a decade will almost certainly need service before it sounds its best. Even a deck that has been playing regularly will benefit from periodic maintenance. The good news is that most vintage turntable service work is approachable for a careful hobbyist. You do not need a service bench or specialized training to replace a worn drive belt, re-lubricate a main bearing, and clean up the mechanics.
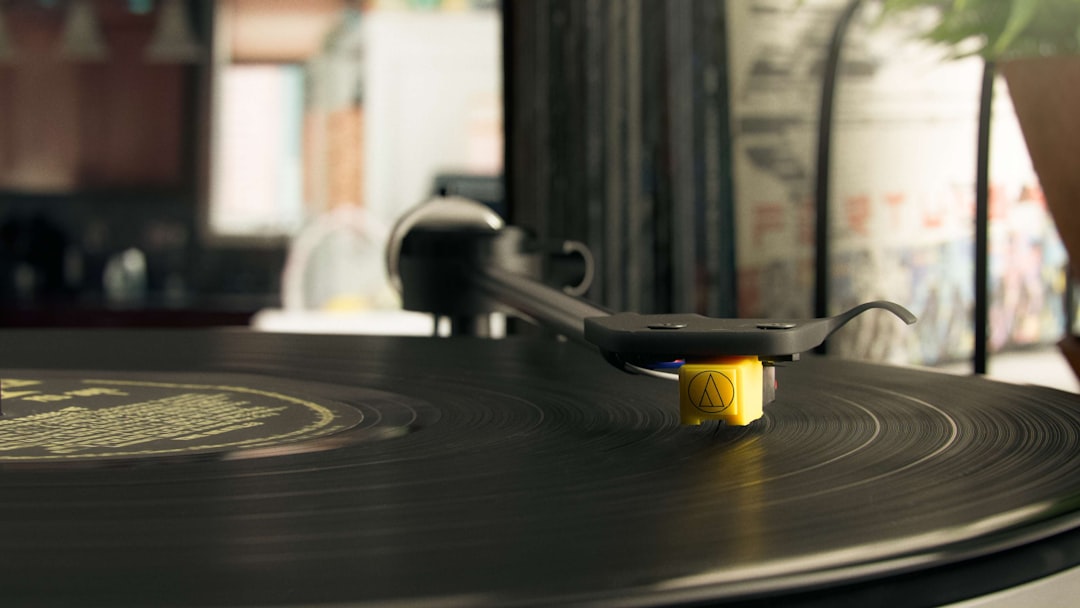
Photo by Brendan Sapp on Unsplash
Safety note: Always unplug your turntable from the wall before removing the platter, opening the chassis, or touching any internal components. Most vintage turntables run on household current, and working on a plugged-in deck is unnecessary and potentially hazardous. This guide covers mechanical service only - if you find corroded or damaged wiring, or a motor that sparks or smells burnt, stop and consult a qualified technician before proceeding.
In our experience servicing a wide range of vintage decks, the three most common issues are a stretched or broken drive belt, a dry or gummy main bearing, and a tonearm pivot that has collected years of dust and debris. Addressing all three in a single session leaves the deck in fundamentally better shape than spot-fixing just one symptom.
Tools and Materials You Will Need
Before you start, gather everything so you are not searching mid-job:
- A set of small Phillips and flathead screwdrivers
- Needle-nose pliers
- Cotton swabs and lint-free cloths
- Isopropyl alcohol (90% or higher)
- Lightweight machine oil or turntable bearing lubricant (see the Recommended Products section below)
- A replacement drive belt sized for your specific model
- A record cleaning brush for platter surface work
- Canned air or a soft brush for dust removal
The replacement belt is the one part you need to source before starting. Turntable belts vary by model, so search your deck’s make and model number to find the correct diameter and thickness. Most belts cost only a few dollars.
Replacing the Drive Belt
The drive belt connects the motor pulley to the platter sub-platter and is responsible for consistent platter speed. Over time, rubber belts stretch, harden, and lose elasticity - a worn belt causes speed instability and wow-and-flutter.
Removing the Platter
Lift the platter straight up from the spindle. On most belt-drive turntables, the platter pulls off without any tools. Set it aside on a clean, soft surface - a folded towel works well. You will now see the sub-platter and the motor pulley.
Removing the Old Belt
Lift the old belt off the motor pulley and sub-platter groove. If it has hardened into a sticky residue or broken apart, use a cotton swab moistened with isopropyl alcohol to clean out the groove completely before fitting the new belt.
Fitting the New Belt
Loop the new belt around the sub-platter groove first, then stretch it over the motor pulley. The belt should sit flat in both grooves with no twisting. Give the sub-platter a slow manual rotation to confirm the belt tracks evenly. Do not replace the platter yet - you have more work to do.
Lubricating the Main Bearing
The main bearing is a bronze bushing and steel spindle assembly that supports the platter as it spins. It is designed to run with a thin film of oil. If the original oil has dried out or become contaminated, the bearing will run rough and generate noise.
Accessing the Bearing Well
With the platter and sub-platter removed, you will see the bearing housing at the center of the chassis. The spindle itself may be removable by pulling it straight up - check your service manual, which you can often find as a free download at Vinyl Engine, an excellent community resource for vintage turntable documentation.
Cleaning and Re-oiling
Use a cotton swab to remove any old, discolored oil from the bearing well. A second swab with a small amount of isopropyl alcohol can clean out contamination. Allow it to dry completely, then apply 2 to 3 drops of lightweight machine oil directly into the well. Re-seat the spindle and rotate it by hand to distribute the oil evenly.
Avoid heavy grease in bearing wells designed for oil - the wrong lubricant viscosity puts unnecessary load on the motor.
Cleaning the Platter and Tonearm
Cleaning the Platter
The platter mat accumulates dust, debris, and in some cases mold. Remove the mat and wash it gently with mild soap and water if it is rubber or felt. Allow it to dry completely before reinstalling.
Wipe down the platter surface with a lint-free cloth. Use an anti-static record brush across the platter surface in a light, sweeping motion before re-seating the mat. We have found that a quality record brush used here also pays dividends every time you spin a record afterward - it lifts the debris that would otherwise transfer to the groove.
Cleaning the Tonearm
The tonearm bearings and pivot points accumulate dust and dried lubricant over decades. Use canned air or a soft brush to remove visible dust. Do not soak tonearm bearings or pivots with oil - these bearings are designed to run dry and excess oil will attract debris and degrade bearing performance.
Wipe the headshell and cartridge body with a dry lint-free cloth. Check that the headshell connector pins are clean and making good contact. Dull or tarnished pins can be very gently cleaned with a dry cotton swab.
For stylus care specifically, our guide on how to clean a turntable stylus walks through safe wet and dry cleaning methods in detail.
Reassembly and Testing
Re-seat the sub-platter, confirm the drive belt is still correctly positioned, then lower the platter back onto the spindle. Replace the platter mat. Plug the turntable back in and power it on. Watch the platter come up to speed - it should reach 33 RPM smoothly and hold speed without drift.
After confirming platter speed is stable, reinstall the cartridge and headshell if you removed them. Before playing a record, verify your tracking force and anti-skate settings are correct. If you are not sure what those should be, our guide on setting tracking force and anti-skate on a vintage turntable covers the full process.
Play a side of something you know well. Speed instability from a worn belt shows up as wavering on sustained piano or vocal notes. A properly serviced deck should sound clean and stable from the first track.
Recommended Products
These are the consumable items we reach for when servicing vintage turntables:
- Audioquest Anti-Static Record Brush - a carbon fiber brush for platter cleaning and pre-play record care: view on Amazon
- Replacement turntable drive belt - search your specific model number to find the correct belt for your deck: search on Amazon
- Lightweight sewing machine oil - works well as a main bearing lubricant in most belt-drive turntables: search on Amazon
As an Amazon Associate we earn from qualifying purchases at no extra cost to you.
Bookmark this guide for the next time a new-to-you deck comes off the shelf. Once you have done a basic service on one turntable, the process becomes familiar and you will be able to assess the condition of any vintage deck quickly and work through it methodically.